A snow plow cutting edge is due for replacement when the scraping face has lost roughly a quarter of its height, when wear reaches the bolt heads, or when the edge stops holding the surface. Flip a reversible edge once before replacing it, and measure the moldboard rather than the worn edge.
The go/no-go moment is ugly and familiar: the night lead shines a light under the moldboard, sees bolts kissing the pavement, and still hopes the edge will “make one more run.” That hope is how storms turn into overtime in the wrong bay.
Replace a snow plow cutting edge when your written wear card says remaining height, fastener exposure, cracks, or tears are past limit, ideally before the next storm sequence. Use correct lifting, torque sequence, and new hardware as needed; record batch IDs after install; and run a short first-route check for vibration, leak-down, and scrape pattern.
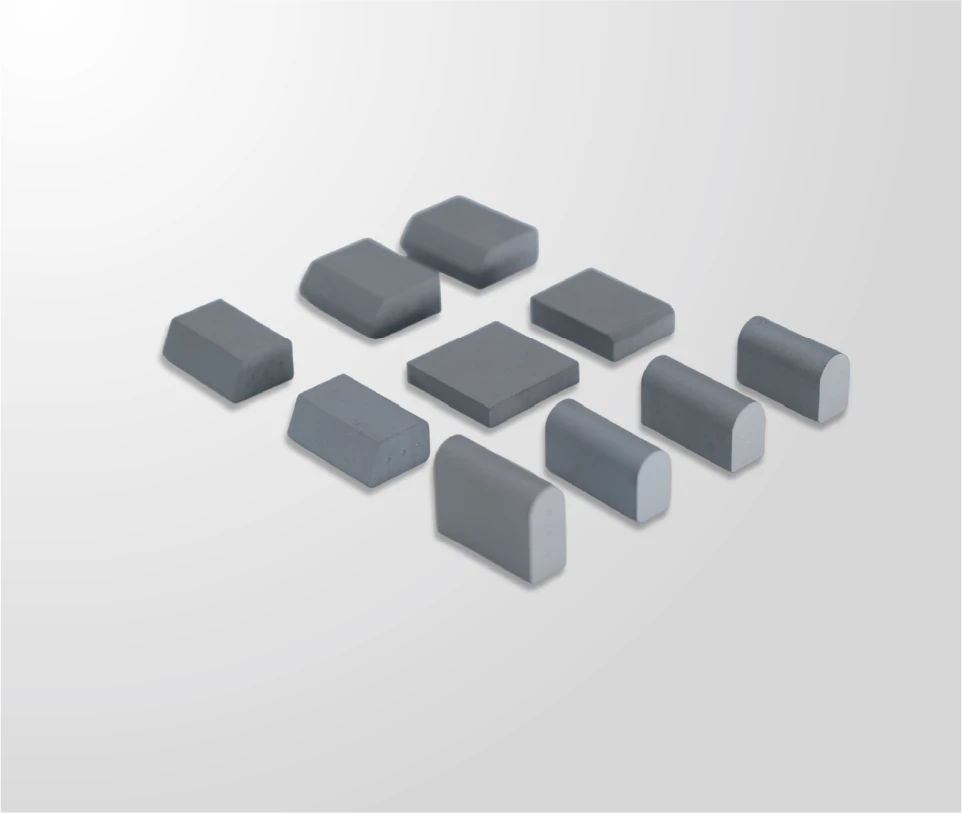
Go/no-go wear signals before a storm
Write numbers, not vibes. Typical signals include remaining height at three stations, bolts or inserts approaching the scrape plane, cracked carbide, torn rubber, and elongated holes. Photograph the edge against a ruler and keep the photo with the work order. Pre-storm checks should finish before regional winter warnings escalate, timing context from NWS helps shop leads plan overtime differently than calendar guessing.
Material selection mistakes show up here: if you keep hanging steel on abrasive chip seal, the go/no-go card will fire every few storms. Fix the material with the selection guide in parallel with the changeout playbook.
Tools and torque sequence overview
Long edges need rated lifting or two-person handling; do not free-hand a bar that can crush fingers. Penetrating oil, correct sockets, torque wrench, and thread compound policy belong on the bay board. Where the plow manufacturer publishes torque values, use them; otherwise follow your fleet engineering note and stay consistent across shifts.
Replacement pages that only sell parts leave out torque sequence, wear-life triggers, material choice at swap time, and batch recording—put those in the bay checklist.
Sequence matters: snug from centre outward or per drawing, then final torque in the same pattern. Uneven clamp is a common cause of early edge walk and cracked inserts.
Carbide carrier vs insert-only replacement
Insert-only replacement is rational when the carrier is straight, seats are clean, and holes remain round. If the carrier is banana-bent, seats are mushroomed, or holes are slotted from wear, replace the full edge. Insert kits and guidance live with carbide inserts and the insert selection and replacement guide.
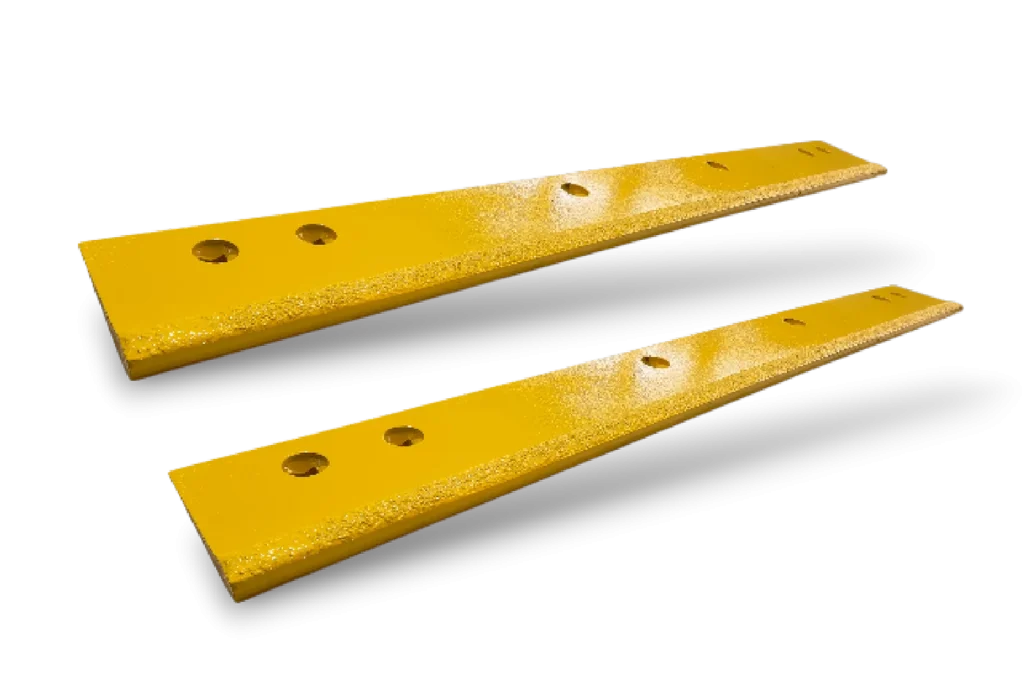
Rubber and poly edge swap differences
Rubber and poly changeouts look lighter and still fail when backup plates are omitted or bolts are over-tightened into soft material. Inspect for extrusion between holes, UV cracking, and cuts from curb hooks. Do not reuse elongated bolts. JOMA-style rubber-flex systems add segment checks, missing or cracked segments are a no-go even if the rubber body looks intact.
Safety and lifting for long edges
Clear the bay floor, chock the truck, support the moldboard per shop rules, and keep bystanders out of the swing path. Wear eye and hand protection when breaking frozen hardware. A dropped edge is both an injury and a scrap event. For import-length bars, plan staging space before you crack the crate.
| Step | Check | Fail action |
|---|---|---|
| Pre-lift | Sling/ratings tagged | Stop; get rated gear |
| Hardware | New bolts if stretched/corroded | Do not reuse |
| Seating | Full contact, no gap rocks | Clean; recheck carrier |
| Torque | Pattern + final values | Re-sequence |
| Record | Batch ID + photo | Do not close WO |
Recording batch IDs for warranty claims
Stamp or tag batch IDs into the work order and the truck file. Warranty terms on the SENTHAI site describe workmanship coverage windows from shipment (per company warranty page); claims without batch traceability are harder for any factory to assess. Keep install date, route class, and torque note beside the ID.
Spare edge staging by plow bay
Stage the correct family at the bay that owns the route class: carbide for abrasive arterials, rubber-flex for lots, poly for quiet retail if that is your book. Label shelves at eye level. Mid-storm hunting across the warehouse is how wrong edges get hung. Ops pressure during events is exactly why staging matters, see FHWA Road Weather Management.
Post-install first-route checks
- Listen for new vibration or metallic slap in the first kilometres
- Stop and recheck torque after the first short run if your SOP requires it
- Confirm scrape pattern is even across the width
- Look for rubber extrusion or cover shift
- Log any anomaly before the next full shift
Canadian and US fleets that share drawings across borders should keep the same go/no-go card language so contractors and municipal crews do not invent parallel standards. High-level transport context: Transport Canada.
Night-shift handoff notes after a cutting edge replacement
A snow plow cutting edge replacement fails operationally when the next shift does not know torque was completed, which batch ID went on which truck, or whether first-route checks are still open. Leave a bay tag with truck ID, edge type, torque status, and photo folder name before the crew leaves.
That handoff is cheap insurance against a mid-storm callback when the only person who did the swap is off-duty.
If the replacement has to be ordered rather than pulled from the rack, the snow plow parts page covers what is manufactured and what has to come from elsewhere.
FAQ
When should a depot replace a snow plow cutting edge before a storm?
Replace when remaining height, exposed bolts, cracked inserts, or torn rubber meet your written go/no-go card, not when someone “feels” it is close. Pre-storm checks beat mid-event bay time.
What tools are typically needed for an edge changeout?
Expect rated lifting aids for long edges, correct sockets, torque wrench, penetrating oil, new hardware as required, PPE, and a second person for long bars. Follow the plow maker’s torque guidance when available.
Should crews replace carbide inserts only or the full carrier?
Replace inserts only when the carrier is straight, holes are round, and the insert seats are sound. Bent carriers, elongated holes, or damaged seats usually mean a full edge or carrier replacement.
How do rubber and poly edge swaps differ from carbide?
Rubber and poly often need backup plates and careful bolt sequencing to avoid extrusion or cracking. They are lighter but tear-sensitive; inspect for cuts before reuse of any hardware.
Why record batch IDs after installation?
Batch IDs support warranty claims and quality holds. Without them, a premature wear claim becomes a he-said story instead of a traceable production lot.
Request Specs or a Quote
Request a quote by emailing [email protected]. Useful details: plow make/model, edge length and thickness, bolt hole pattern, the surfaces your fleet clears, and a photo of the current wear. Expect an answer within roughly one working day, in English or Chinese. Lead time and MOQ depend on the product family and are confirmed in the quotation, not as a blanket figure here.
Related Articles
- Snow plow blade selection guide
- Carbide inserts
- Insert selection and replacement guide
- Warranty and shipping