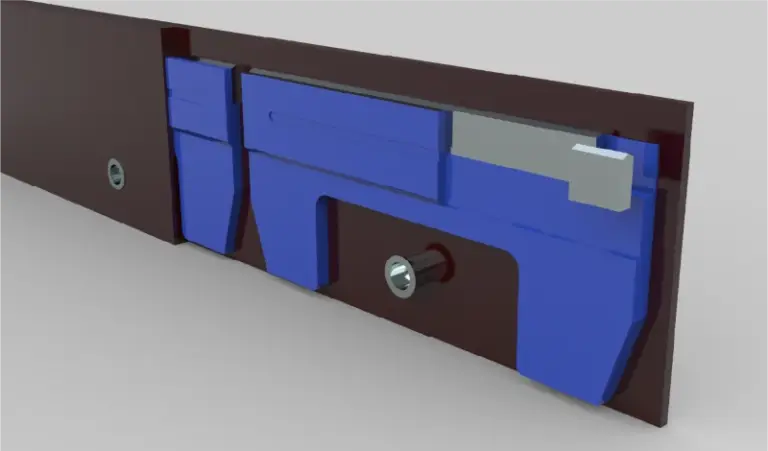
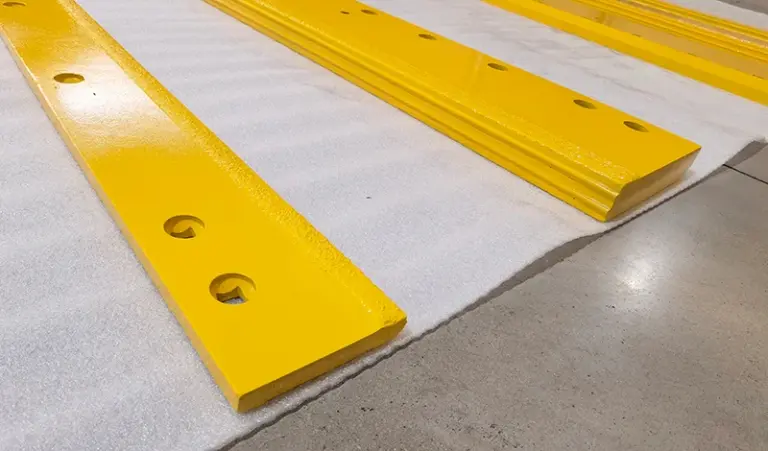
A Hiniker-style cutting edge will generally not fit a Meyer mount without modification. The two systems use different hole patterns, edge profiles and mounting hardware conventions. Whether a specific aftermarket edge drops onto a given Meyer blade assembly depends on the exact model, the edge section you are replacing, and the tolerances your shop is willing to work with.
What “Hiniker-style” and “Meyer mount” actually describe
Both terms are shorthand for families of plow hardware, not single dimensions. A distributor or OEM buyer should treat them as starting points for a specification conversation, not as a guarantee of interchangeability.
“Hiniker-style” usually refers to the hole spacing, edge depth and bolt arrangement associated with Hiniker plow blades and their common aftermarket equivalents. “Meyer mount” refers to the blade and A-frame geometry associated with Meyer plows. Neither label is a standard in the engineering sense — there is no published cross-reference that binds one to the other. The practical consequence is that a part sold as “Hiniker-style” is dimensioned to a family of Hiniker-compatible blades, and a Meyer blade is dimensioned to Meyer’s own drawings. Where those drawings diverge, the edge will not bolt up cleanly.
Where the fit usually breaks down
In practice, interference shows up in three places: hole pattern, edge profile and hardware stack. Any one of them is enough to stop a direct fit.
| Feature | What to verify | Typical failure mode |
|---|---|---|
| Hole spacing | Centre-to-centre distance along the edge, and offset from the leading edge | Holes line up on one end but drift out of register toward the other |
| Hole diameter | Bolt size and clearance vs. the plow’s carriage bolts | Edge fits but bolts will not pass, or pass with excessive slop |
| Edge profile | Section height, bevel angle, curve or flat | Edge seats but leaves a gap against the moldboard, or fouls the trip mechanism |
| Hardware stack | Plow bolt head type, nut clearance, washer thickness | Stack height changes the effective cutting angle |
Hole spacing is the most common blocker. A pattern that matches at the centre of the blade can be several millimetres out at the ends, which is enough to require reaming or slotting — and slotting changes the load path through the edge.
How to check a candidate edge before you commit
The check is straightforward and should be done against the actual blade on the floor, not against a catalogue description. Work through the following in order.
- Record the plow model, blade width and the edge section being replaced.
- Measure hole centre-to-centre spacing at three points: both ends and the middle.
- Measure hole offset from the leading edge and hole diameter.
- Measure the existing edge section height and bevel angle.
- Compare against the candidate edge drawing — not a photo.
- Confirm bolt head type and required stack height.
- Test-fit one edge on one blade before ordering volume.
If the candidate edge is supplied to a Hiniker-family drawing, expect step 5 to produce a mismatch on at least one dimension for most Meyer blades. The question is whether the mismatch is in a dimension you can tolerate. Full specification detail for the edge families we produce is on the snow plow cutting edges product page, and it is worth reading alongside your own measurements.
Modification: when it is acceptable and when it is not
Some buyers slot or ream holes to make an edge fit. That is a legitimate shop decision in some cases and a false economy in others, and the distinction is mostly about load path and warranty.
Slotting is tolerable where the slot remains within the reinforced zone of the edge and the bolt still clamps over full contact area. It is not tolerable where the slot removes material from a wear-critical section, where it changes the effective cutting angle, or where it voids the edge supplier’s dimensional warranty. For fleet procurement, the safer rule is that a modified edge becomes a shop-fabricated part and should be treated as such in maintenance records. If you are comparing bids that include modified versus direct-fit edges, the reading guide on reading public bid tabulations for cutting edges is a useful reference for how specification differences get priced.
The commercial side: supply, MOQ and specification risk
For a distributor or fleet buyer, the fit question is really a supply-chain question. A direct-fit edge costs more per unit but removes a fabrication step, a test-fit step and a rework risk from every blade in the fleet. A near-fit edge costs less per unit and moves that labour into your shop or your customer’s shop.
MOQ and lead time depend on the edge family, the section and whether the pattern is a stock drawing or a custom one. Custom hole patterns generally carry a higher MOQ and a longer lead time than stock patterns, and the gap widens for small order quantities. On total cost, the calculation that matters is landed cost per blade-season, not price per edge: add fabrication labour, test-fit time, rework rate and the downtime cost of a blade sitting idle waiting for a modified edge. Where the modification rate is low and the shop is already set up for it, the near-fit route can win on cost. Where the fleet is large and dispersed, or where the work is done by third parties, the direct-fit route usually wins on total cost because it removes variability. Specification risk sits with whoever signs off on the fit — if you approve a near-fit edge for a customer’s Meyer fleet, the dimensional responsibility is yours, not the edge supplier’s.
What to put in the RFQ
An RFQ that specifies the mount by name will produce quotes that are not comparable. An RFQ that specifies dimensions will produce quotes you can actually evaluate.
Include the plow model and year, the measured hole pattern, hole diameter, edge section height and bevel angle, bolt head type, required stack height, and the quantity per blade and per season. State whether modification is permitted and, if so, what the acceptance criteria are. Ask the supplier to confirm which drawing the edge is produced to. Dimensions and hole spacing follow the product page specification; where your measurement and the drawing disagree, the drawing governs and the discrepancy should be resolved before the order is placed. Our own edge range and drawing conventions are set out on the cutting edges catalogue page.
Quick summary
A Hiniker-style edge is not a drop-in fit for a Meyer mount in most cases, because the two families are dimensioned to different drawings. The fit depends on hole pattern, edge profile and hardware stack, and should be verified by measurement and a single test-fit before any volume order. Where modification is possible, treat the modified edge as a shop-fabricated part and cost it accordingly.
Sources checked on 2026-11-14: SENTHAI Tools product category pages for snow plow cutting edges; SENTHAI Tools reading guide on public bid tabulations for cutting edges; manufacturer-published mounting conventions for Hiniker-family and Meyer plow blades. No independent fitment study was consulted; dimensional claims should be verified against the specific blade on hand.
Three more perspectives
Limits
This page does not confirm fitment for any specific plow model, does not provide a cross-reference table between Hiniker-family and Meyer hole patterns, and does not state wear life, cost or lead-time figures — those depend on the section, the quantity and the supplier’s current schedule. It is a framework for the fitment conversation, not a substitute for measuring the blade in front of you.