Change the edge before the storm, not during it. In wet heavy snow, a worn cutting edge loses its ability to peel the load off the surface, so the plow starts pushing instead of rolling. For a fleet, that means more passes, more fuel and more stress on the moldboard. The practical answer is a scheduled edge change based on measured wear, not on how the edge looks.
Why wet heavy snow changes the wear pattern
Wet heavy snow sits at the transition between plowing and carrying. It compacts under the moldboard and loads the cutting edge continuously rather than in short bursts, and that changes how the wear bar behaves across its width.
In dry cold snow, the edge mostly slides. In wet snow, the edge is asked to scrape a surface that is often wet, refrozen or slushed, and the down-pressure needed to keep contact rises. The result is faster wear at the center and at the ends, plus more bolt load. Distributors and OEM buyers should treat wet-season wear as a different duty cycle from dry-season wear when they set inspection intervals.
Inspection before the change
Inspect on a clean, dry surface with the plow raised and blocked. The point is to decide whether the edge can finish the season or must come off now, and to record the measurement so the next interval is based on data.
- Measure remaining edge height at three points: left end, center and right end.
- Check for uneven wear — a center worn well below the ends usually means down-pressure or geometry is off.
- Look for cracks, bent sections and elongated bolt holes.
- Check bolt torque and condition; replace fasteners that show corrosion or thread damage.
- Confirm the wear bar matches the moldboard and the intended surface (asphalt, concrete, gravel).
- Record the measurement and the hours or kilometers since the last change.
If the center is worn disproportionately, the edge is not the only problem. Bolt failures and loose hardware often show up first as a wear pattern, which is why a photo record of broken bolts is worth keeping — see why plow bolts break and why you should keep a photograph report.
Removal and fitting sequence
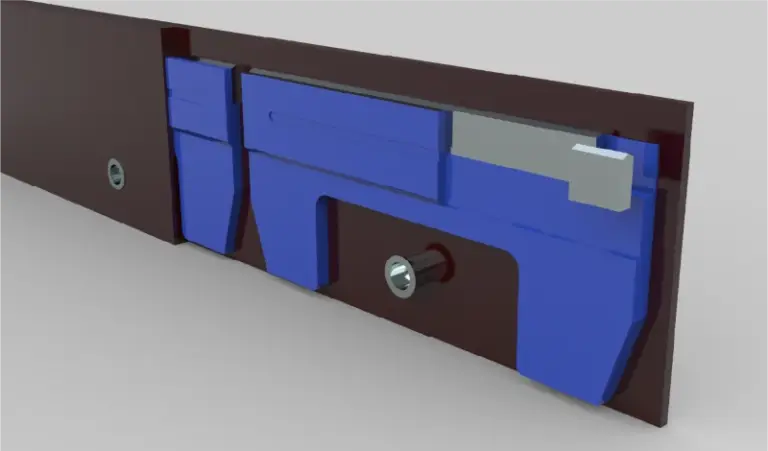
Work on a level surface with the plow lowered and blocked, and follow the machine manufacturer’s procedure for the specific moldboard. The sequence below is the general pattern; the torque values and fastener sizes come from the product documentation, not from this page.
- Block the plow and release hydraulic pressure per the machine manual.
- Remove fasteners in a cross pattern, not end to end, to avoid binding the bar.
- Clean the moldboard mating surface; rust scale and packed snow cause uneven seating.
- Fit the new edge, start all fasteners by hand, then torque in a cross pattern in stages.
- Re-check torque after the first few hours of operation, then at the interval your maintenance plan sets.
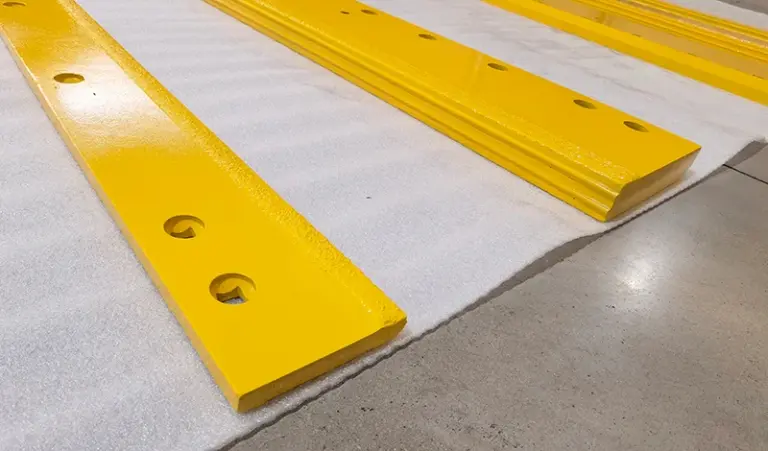
For the specification side — edge height, hole pattern, steel grade and bolt kit — work from the snow plow cutting edge product page rather than from a generic dimension. Wet heavy snow does not change the fit; it changes how fast the fit degrades.
What wet heavy snow does to edge life
There is no single number for edge life. It depends on surface, down-pressure, plow speed, operator technique, abrasive content in the snow and how much of the season is wet rather than dry.
| Factor | Effect in wet heavy snow | What to watch |
|---|---|---|
| Surface | Abrasive surfaces wear the edge faster; smooth surfaces wear it more evenly | Center vs end wear ratio |
| Down-pressure | Higher pressure keeps contact but raises wear and bolt load | Bolt torque checks, elongated holes |
| Plow speed | Higher speed increases impact and heat at the edge | Cracks, chipped sections |
| Snow type | Wet snow loads the edge continuously | Shorter inspection intervals |
| Edge material | Harder grades resist abrasion but can be less forgiving on impact | Match grade to surface and duty |
Expect life to fall in a range rather than at a fixed figure, and expect the wet-season share of the year to move that range. A fleet that runs the same edge through a wet winter and a dry winter will see different wear, even with identical hours.
Commercial view: supply, MOQ and total cost
For a distributor or fleet buyer, the edge is a consumable with a supply plan attached. The commercial question is not the unit price alone but the cost per plow-hour and the risk of running out mid-storm.
MOQ depends on the edge profile, the steel grade and whether the order is a stock item or a build-to-order size. Lead time depends on the same factors plus the order quantity and the shipping route; it is not a fixed number. Total cost should include fasteners, labor for the change, downtime and the risk of a mid-season shortage. Specification risk is the quiet one: an edge that is dimensionally correct but the wrong grade for the surface will wear faster and cost more per hour, even at a lower unit price. Price and lead time come from a written quote; specifications come from the product page. For a second reference point on edge selection, see the cutting edge range and confirm the grade against your surface mix before you set a season’s order.
Field checks after the change
The first hours after a change tell you whether the fit and the grade are right. Treat them as a verification step, not a formality.
Check that the edge seats flat, that fasteners hold torque, and that the wear pattern after the first shift is even across the width. If the center wears first again, revisit down-pressure and geometry before ordering the next set. Keep the measurement record with the machine so the next interval is based on your own data rather than a supplier’s average.
Quick summary
Change the edge on a measured wear schedule, not on appearance, and expect shorter intervals in wet heavy snow because the edge is loaded continuously. Fit and torque per the machine manual, verify the seating and wear pattern after the first shift, and treat grade selection as a cost-per-hour decision rather than a unit-price one.
Sources checked on 2026-11-16: SENTHAI Tools product documentation for snow plow cutting edges; machine manufacturer maintenance procedures for plow mounting and torque; internal wear-record guidance for fleet inspection intervals. Figures are ranges and depend on surface, duty and season mix; no independent study is cited.
Three more perspectives
Limits
This page is not a substitute for the machine manufacturer’s mounting and torque procedure, and it does not specify dimensions, grades or bolt kits for a particular plow. It gives no practical wear life or cost figure; those depend on surface, duty and season mix. Price and lead time come from a written quote; specifications come from the product page.