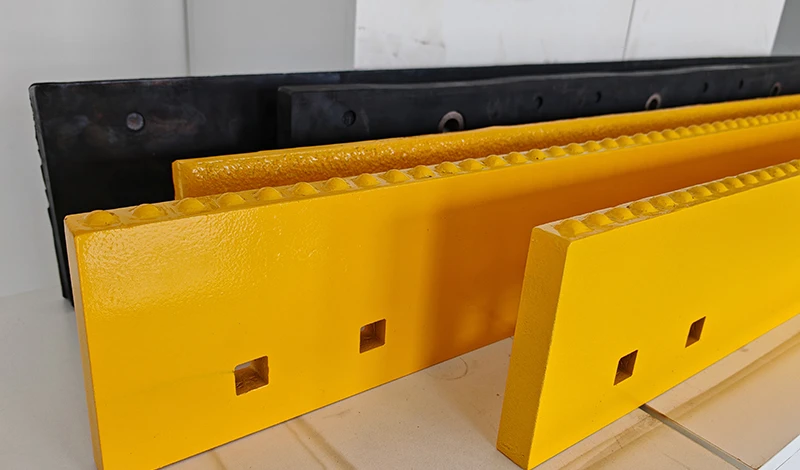
For setting up an edge for packed ice, the best result comes from matching the component, material, and setup to a documented operating condition, then validating fit, wear, safety, and cost in a controlled trial. This updated guide uses current search evidence and official-source checks to turn the topic into a repeatable selection process.
Updated: October 19, 2026
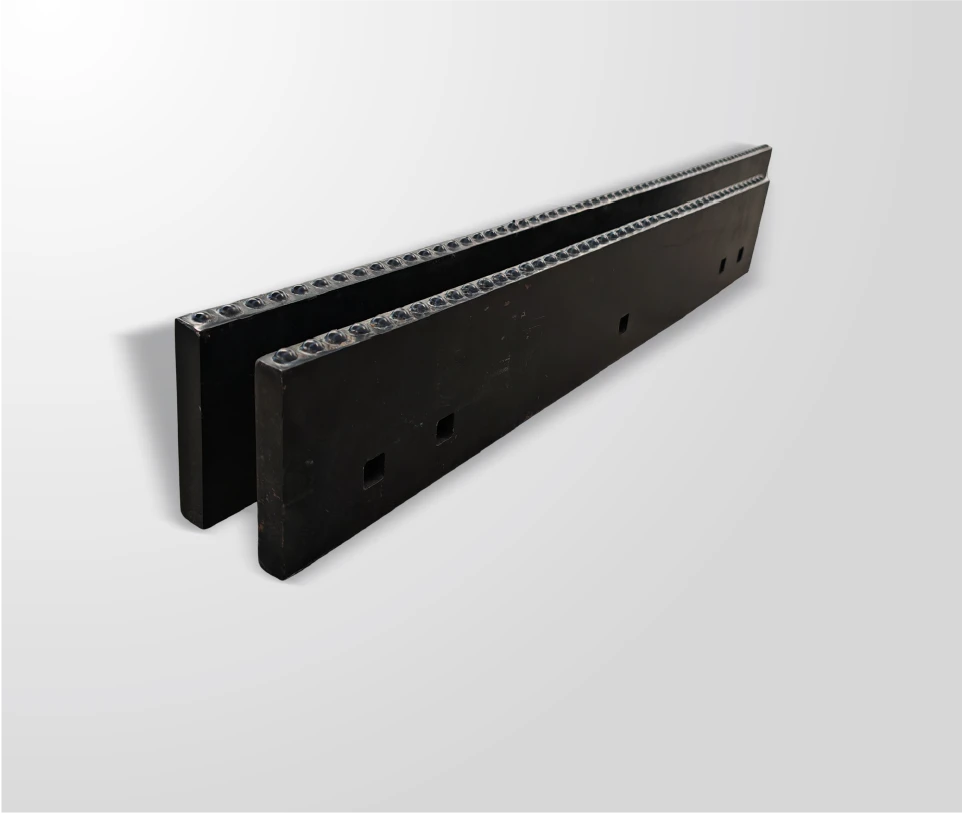
Packed ice resists a plow for a simple reason: the load is spread across the whole edge, so the pressure at any one point is too low to break the surface bond. Setup decides how much pressure actually reaches the ice, and it is the first thing to check before buying a more aggressive edge.
Check the setup in this order
- Shoe height. If the shoes carry the blade off the surface, no edge will cut the ice. Set the shoes so the edge contacts under load, not so the machine rides on them.
- Down-pressure. The blade needs enough load to bite. Too little and it skates; too much and you are grinding carbide into the surface with no extra clearing benefit.
- Edge angle. A shallow angle glides, a steeper angle scrapes. The correct angle depends on the surface below the ice, which is why it is worth checking with a straight edge.
- Blade condition. A worn edge with rounded inserts has lost the geometry that made it bite. Sometimes the fix is a new edge, not an aggressive one.
When geometry has to change
If the setup is right and the blade still polishes ice instead of removing it, the contact pattern is wrong for the job. An aggressive packed ice layout concentrates load at points rather than along a line, which breaks the bond and lets the edge cut.
| Symptom | Likely cause | First fix |
|---|---|---|
| Blade floats over the surface | Shoes carrying the blade | Lower shoe height, increase down-pressure |
| Blade bites in patches | Uneven contact or a bent carrier | Check carrier straightness and mounting bolts |
| Polishes ice rather than removing it | Contact pressure too low across the edge | Aggressive insert layout or a steeper edge angle |
| Edge wears unusually fast | Too much down-pressure for the surface | Reset shoes and review grade selection |
An aggressive edge wears faster on bare pavement than a standard one. If a route is half packed ice and half clean asphalt, either match the edge to the majority of the route or split the fleet so each machine carries the right edge.
Recording what worked
When a setup finally clears the ice properly, write it down: shoe setting, down-pressure, edge angle, blade type and grade. That note is worth more than the next catalogue conversation, because it turns a good day into a repeatable procedure.
Can I use a packed ice kit all season?
You can, but it will wear faster on bare pavement than a standard edge. Many fleets keep kits on the machines that work compacted routes and standard edges on everything else.
Does more down-pressure always clear more ice?
No. Beyond a point you are increasing wear and machine stress without increasing clearance. The right pressure is the one that keeps the edge in contact and cutting.
This article is one step in the Packed Ice Edge Guide, which explains why a standard edge skates across hardpack and how to set one up so it bites.
Match the Edge or Attachment to the Actual Operating Condition
This research-backed framework closes a recurring gap in pages ranking for Setting Up an Edge for Packed Ice: readers need a decision method, not a list of unsupported superlatives. Apply the same evidence fields to every option before choosing setting up an edge for packed ice.
| Decision gate | Evidence to collect | Release rule |
|---|---|---|
| Surface | Asphalt, concrete, gravel, pavers, bridge deck, or sensitive finish | Choose material and setup that protect the surface while meeting removal goals |
| Snow and ice | Loose snow, wet snow, compacted snow, bonded ice, or mixed conditions | Separate plowing, scraping, and deicing functions |
| Machine setup | Carrier weight, attack angle, down pressure, shoes, trip system, and speed | Verify the complete system rather than judging the edge alone |
| Validation | Short route trial, photographs, wear readings, fuel or time, and operator notes | Expand only after the trial meets a written acceptance rule |
The most useful choice is the one that meets the route objective without shifting damage or downtime elsewhere in the system. Record setup and operating conditions so the result can be repeated.
Run a Controlled Trial Before Full-Fleet Adoption
-
Freeze the baseline: record the current component, carrier settings, route, weather, operator, hours, and reason for removal.
-
Approve fit first: compare the supplier drawing with the machine and attachment. Do not drill, grind, weld, or substitute fasteners without an approved procedure.
-
Change one major variable: keep route and operating method as consistent as practical so the result can be attributed to the component rather than a different setup.
-
Inspect at planned intervals: photograph the same locations, measure wear, check fastener torque and retention, and log impacts or abnormal vibration.
-
Release against written criteria: decide in advance what wear, removal quality, downtime, and cost per operating hour would justify expansion.
Official-Source and SERP Verification
The technical boundary was checked against Federal Highway Administration snow and ice guidance. That source is used for the operating or safety context; model-specific dimensions, settings, and limits must still come from the approved manual for the exact machine and component. The following leading pages were reviewed for search intent and missing decision details:
Frequently Asked Questions
What should be verified before selecting setting up an edge for packed ice?
Confirm the exact application, dimensions, carrier limits, operating surface, expected impacts, supplier drawing, and acceptance evidence. A product name or grade label alone is not enough.
How should setting up an edge for packed ice be compared on cost?
Compare landed and installed cost, service hours, maintenance labor, downtime, collateral wear, and replacement reason. Use cost per operating hour for comparable routes rather than purchase price alone.
When is a trial required?
Use a controlled trial whenever fit, material, setup, route conditions, or supplier process changes. Define the baseline and pass criteria before the trial starts.
Which document controls installation and operating limits?
The current manual, approved drawing, and written instructions for the exact carrier and component control. General articles and cross-reference tables are screening tools, not installation authority.
Request an Application Review
Send SENTHAI the carrier or machine model, drawing or dimensions, operating surface, route condition, current failure mode, expected quantity, and target service interval. The engineering team can then review a suitable product path without changing the evidence requirements described above.