Counter-intuitive to rush buyers: the fastest way to get a wrong aftermarket edge is to order from plow brand memory instead of mapping bolt centres on the moldboard you actually run. Decision path below keeps geometry honest.
Map snow plow blade bolt patterns by measuring centre-to-centre distances on a sound moldboard or a non-elongated sample edge, document elongated holes and wear plates, and attach CAD or sketch minimums to every RFQ. Common mismatches come from mixing revisions and ignoring end distances. QC on receipt against the same map. Anchors: selection guide, carbide snow plow blade, sibling verification notes at bolt pattern verification.
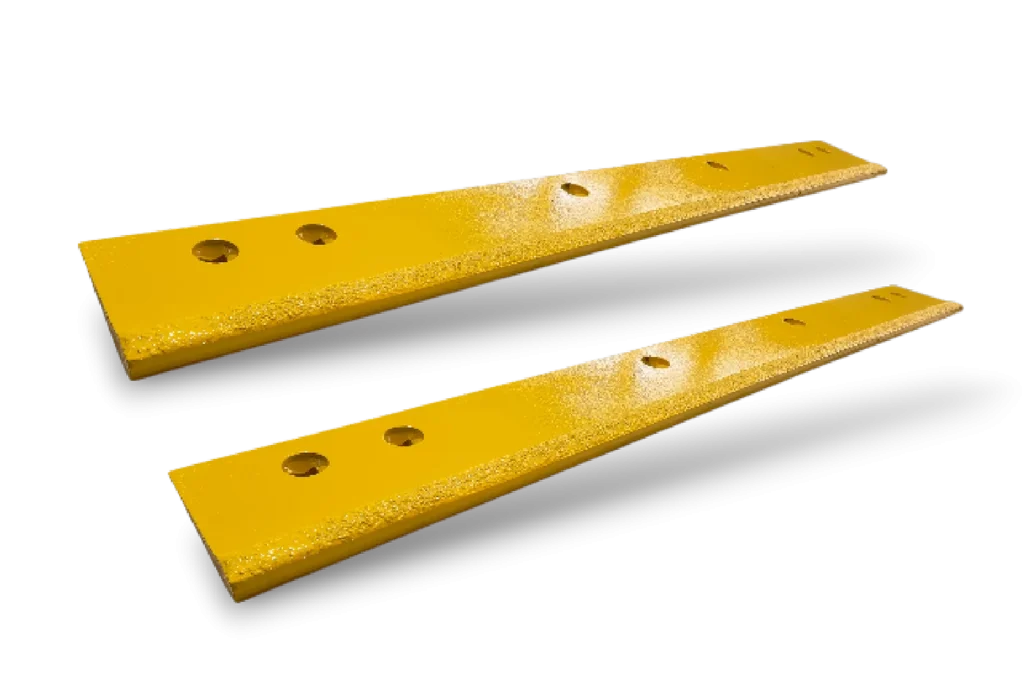
Measuring centre-to-centre
Bolt patterns are brand- and length-specific.
Snow plow blade bolt patterns follow plow brand, length, and highway versus maker layouts—measure centres; never guess from memory.
AASHTO-style highway punches and manufacturer layouts both appear in the field. Elongated holes and wear plates change what you measure. Cardboard templates and CAD minimums prevent wrong aftermarket edges. QC on receipt against the chart catches punch errors before the storm.
Multi-plow yard mapping—one spreadsheet of patterns per truck—prevents seasonal chaos and is rarely in overview text.
Use a rigid rule or tape; measure hole centre to hole centre, not edge-of-hole guesses on worn bars. Record diameters separately. Photograph with the rule in frame. If the bar is egg-holed, measure the moldboard instead.
| Measurement | How | Common error |
|---|---|---|
| Centre distances | Centre-to-centre along the row | Measuring elongated hole edges |
| End distances | Last hole centre to bar end | Ignoring asymmetric ends |
| Hole diameter | Undamaged hole or moldboard | Using worn bar as master |
| Row count / stagger | Sketch both rows if present | Assuming single row always |
Elongated holes and wear plates
Elongation means repair before ordering carbide. Wear plates change stack height and sometimes effective hole access. Spec plates in the same pack as the edge map.
Template making from worn edges
A cardboard or thin-steel template from a sound sample helps shops without CAD. Mark revision and truck ID on the template. Do not template from a banana-shaped worn bar.
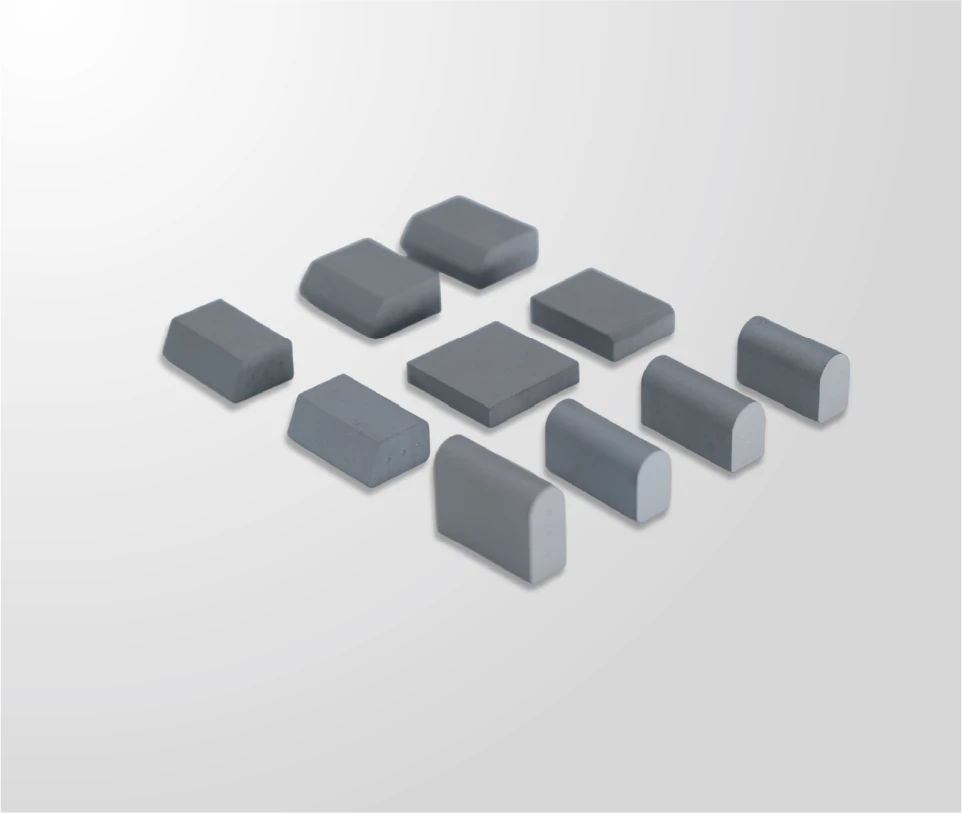
CAD sketch minimums
Minimum useful sketch: overall length, thickness, hole diameters, centre distances, end distances, and notes for countersunk vs standard holes. PDF plus photo pack beats a vague email.
Common mismatch failures
- Mixing old and new moldboard revisions in one PO
- Ordering wings from front-bar maps
- Ignoring staggered second rows
- Assuming brand-style equals one hole chart forever
Fit philosophy: aftermarket vs OEM edges.
RFQ attachment standards
Require map + photos + revision name. Ban “same as last year” without marks. Ops urgency that makes wrong holes painful: FHWA.
QC on receipt
Lay the new bar on the moldboard or template before the storm window. Check end holes first. Photograph discrepancies with batch ID visible. Season timing: NWS. Canadian fleets: Transport Canada. Tungsten: USGS. ND evaluation culture: ND DOT. ISO: ISO 9001.
Links
Multi-plow yard mapping project plan
For yards with mixed moldboard revisions, schedule a mapping day before peak season: pull one sample per drawing family, measure centres, photograph, and assign revision names. Enter maps into the purchasing system so buyers cannot free-type “Meyer-style 10 foot” without attachments.
Color-code racks by revision. A correct carbide bar in the wrong rack is still a wrong install at 2 a.m. Train receiving to refuse bars that lack revision marks matching the PO.
When aftermarket suppliers send first articles, dry-fit before accepting the production lot. End-hole mismatches found on the dock are cheaper than mismatches found on the plow route. Keep the map PDF in the same folder as the vendor quote.
Re-map after major moldboard repairs. Shops that bush holes or replace boards without updating purchasing maps recreate the original problem with new hardware.
Publish the mapping standard as a one-page laminated card in the parts room. New hires should be able to attach a correct RFQ pack without waiting for the one person who “knows the holes.”
Keep batch IDs, photos, and revision notes in one folder so purchasing, shop, and sales share the same evidence trail when the next RFQ or claim begins.
Bolt-pattern mapping method for aftermarket edges
Mapping starts with a clean moldboard photo set: full length, both ends, and a close-up of each hole with a ruler in frame. Record diameter, centre-to-centre distances, and end offsets. Transfer numbers to a hole chart before anyone talks material.
Elongated or egg-shaped holes are a repair ticket, not a tolerance. Aftermarket edges that “almost fit” will frett and shear fasteners. When brand families appear (Western-, Fisher-, Boss-, Meyer-style), keep *-style language and require written fit confirmation.
Store the chart with the truck or plow ID. Re-measure after major moldboard repairs. Send charts with RFQs to [email protected]; production timing stays on the quotation.
When digitising hole charts, keep units explicit (inches vs millimetres) on every dimension line. Mixed-unit charts are a frequent root cause of “almost fit” aftermarket bars crossing the Pacific.
Publish a depot rule: no aftermarket edge leaves purchasing without a hole chart that names units on every dimension. When a dealer sends a sketch in mixed inches and millimetres, convert once, have a second person check, then lock the chart revision. That single gate removes most “almost fit” bars before they are cut overseas.
Store the locked hole chart with the plow serial or fleet unit number, not only in a shared inbox. When staff rotate, the unit file is what keeps aftermarket repeats accurate.
FAQ
How wide is a snow plow blade?
Blade width is plow- and application-specific. Highway, V-plow, and light truck edges differ. When mapping a snow plow blade bolt pattern, capture overall length alongside hole centres so the replacement matches the mouldboard. Do not order by width alone—pattern pitch and end margins matter more for fitment. Photograph a tape on the worn edge for the RFQ.
What bolt pattern info should go on an aftermarket edge RFQ?
Include overall length, thickness, hole count, centre-to-centre spacing, end margins, and whether holes are round or slotted. Attach a photo with a tape measure and, if possible, a cardboard template. Note plow brand-style and truck class. That package prevents wrong snow plow blade bolt pattern shipments better than a brand nickname. Ask the plant to confirm the punch drawing before production.
How to measure plow bolts?
Measure shank diameter, under-head length, and thread length on a clean bolt from the worn edge. Note whether the head is a plow/countersunk style and whether nuts are prevailing-torque. Record hole diameter on the edge plate. Put these numbers on the RFQ with the snow plow blade bolt pattern chart so hardware and edge arrive as a matched set. Guessing grade or length from lawn-equipment tables causes bay delays.
What plow bolt grade and length should buyers specify?
Specify bolt grade and length from the plow maker or your measured sample, not from unrelated equipment charts. Plow bolts are typically designed for shear and countersunk fit in cutting edges. Wrong length leaves threads short or proud; wrong grade risks head failure. Put grade, length, and quantity on the same RFQ as the snow plow blade bolt pattern so receiving can QC the kit together.
Request Specs or a Quote
Need a spec review before ordering? Email photos of the worn edge or the plow make/model to [email protected], along with length, thickness, bolt pattern and a description of the surfaces you clear. We generally answer within one working day in English or Chinese. MOQ and lead time are confirmed in the quotation per product family, not stated here as a fixed number of weeks.