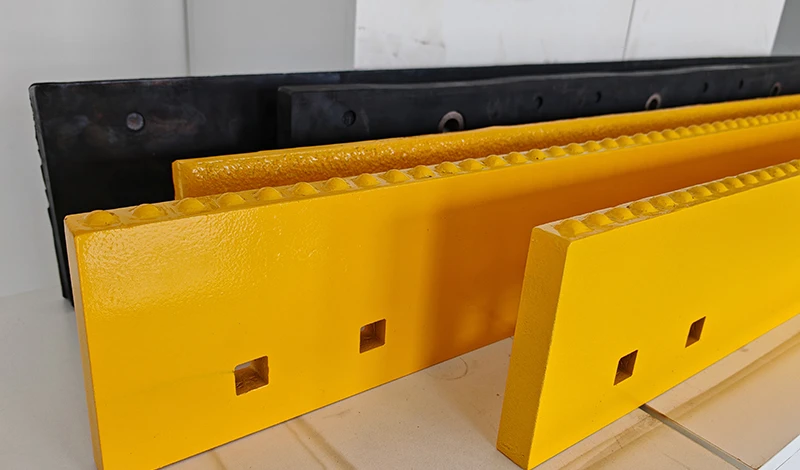
An operator spends a shift on a route where every intersection is polished hardpack, with the blade down, the angle set the way it has always been set, and the route worked at the speed it has always been worked. At the end of it the surface looks the same, and the edge has lost a visible amount of material along its contact face. Nothing was obviously wrong, and that is the difficulty: on a bonded layer the settings that work for loose snow produce sliding contact instead of cutting, and the cab gives almost no feedback that it is happening.
This guide works through the three settings as a system rather than three separate numbers: what pressure per unit of width actually means, how blade angle decides whether pressure reaches the surface, where speed takes the cutting action away, and how to set a route up so the operating window is repeatable.
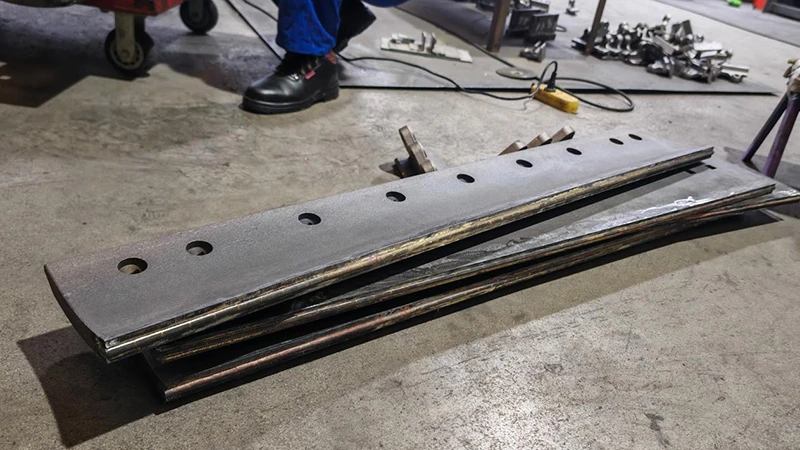
Down pressure plow blade: pressure per unit of blade width
Pressure per unit of width decides whether an edge cuts.
The force a carrier can apply to a blade is fixed by its own weight and geometry, and what matters on the road is how that force is divided. A continuous edge spreads it across the full working width, so the pressure is low, while an insert edge concentrates it at a few small contacts.
Whether the machine can adjust that force at all is the first thing to establish, because a carrier with fixed down pressure limits what any edge can do.
Two practical points follow from that. The useful setting is the lowest one at which the surface breaks up on the first pass, because pressure beyond that point is absorbed by the machine and the pavement rather than spent on cutting. And pressure is not a substitute for angle: adding down force to a blade set at the wrong angle increases the load on the blade without improving the cut.
Effect of blade angle on contact
Blade angle decides how the edge meets the surface, and it works against down pressure rather than alongside it. A shallow angle presents the cutting edge almost flat to the road, so the edge tends to skim the top of the layer however much force is applied and the insert scrapes rather than cuts. A steep angle engages the edge properly but directs more of the available force into pushing the blade and the machine along the road.
That is why the two settings are adjusted together rather than independently. The angle at which the insert engages is a property of the assembly, and the pressure needed to keep it engaged follows from that angle. Where a route needs a different angle for different sections, the assembly has to allow that adjustment to be made without a workshop visit, which is a specification point rather than an operating one. The relationship between angle and cutting behaviour is examined on the attack angle and blade pitch page.
Speed thresholds that stop cutting
Speed removes cutting action because it removes contact time. Each insert arrives at the surface and leaves it again in a shorter period as the machine moves faster, and past a point the surface does not have time to fail in front of the edge.
The transition is not a single number, because it depends on the layer rather than on the machine. Thin, broken hardpack may cut at the upper end of a route’s speed range; thick refrozen material will not cut at that speed whatever the pressure. What operators need is the ability to recognise the transition, and it shows in three ways: the windrow changes from material being lifted to material being pushed, the sound of the blade changes to a continuous slide, and the surface behind the blade is left glossier than the surface in front of it.
The practical consequence for a route plan is that bonded sections and open sections are worked at different speeds. A fleet that insists on one speed for the whole route is choosing between polishing the hardpack and spending longer on the open sections.
Carrier suspension and float
Suspension and float determine whether the pressure at the contact stays steady as the machine moves. A carrier that lets the blade follow the pavement raises and lowers the load at the edge continuously, which on loose snow is a benefit and on hardpack is a problem: cutting needs pressure held at the contact rather than varying with the surface.
The setting to look for is the one that keeps the cutting line consistent while still allowing the blade to ride over an obstruction rather than driving into it. Where float cannot be reduced, the effect on hardpack is a cutting action that works on the sections where the blade happens to be loaded and fails elsewhere, which produces an intermittent result that is usually described as the edge being inconsistent rather than as a settings problem.
Settings for front versus underbody blades
Front and underbody positions differ in how much control the operator has and how the load arrives, and the settings follow from that.
- Set the cutting angle on the front blade first, because it can be adjusted while the machine is working and its result is visible immediately.
- Bring down pressure up in small steps until the surface breaks on the first pass, then back off by one step.
- Set the underbody blade to work below the front blade’s line, so it removes what the front pass left in the wheel tracks.
- Re-check the front angle after changing pressure, since the two settings interact and one adjustment usually moves the other.
The third step is the one that produces the visible difference on a municipal route. An underbody edge working the same line as the front blade adds nothing; working below it reaches the material the front pass left behind, which is the material that later becomes hardpack.
Operator feedback signs
Because the cab gives little direct feedback on hardpack, the useful signals have to be learned rather than felt.
- A windrow that forms and rolls indicates the edge is cutting; material merely being pushed indicates it is scraping.
- A surface left dull and broken behind the blade indicates cutting; a surface left glossy indicates riding.
- A steady load on the machine indicates consistent engagement; a load that rises and falls with the surface indicates the blade is floating.
- An edge that is losing height quickly along a band indicates the contact is sliding rather than cutting, even when the surface looks unchanged.
The last sign is the one worth measuring rather than judging. Where an edge is being replaced on a schedule that keeps shortening, the contact face measurement will show whether the loss is concentrated in a band that matches the polished sections of the route.
Training checklist
The routine below is short enough to be taught in a yard session and precise enough to be repeated by a supervisor.
- Identify the bonded sections of the route before starting, and mark them on the route sheet.
- Set the blade angle on a section that is known to be bonded, not on an open one.
- Raise down pressure until the surface breaks on the first pass, then reduce it by one step.
- Reduce speed over the bonded sections until the windrow forms, and hold that speed through the section.
- Check the surface behind the blade at the end of each bonded section, not only at the end of the route.
- Record the settings used and the surface condition, so the next shift starts from a known position.
The sixth step is what makes the routine transferable. Settings recorded with the route and the conditions they were chosen for give the next operator a starting point; settings remembered as a feel do not survive a change of crew.
Diagnosing a setting that is not working
When a route is being worked and the surface is not responding, the cause is usually identifiable from what the operator sees.
- Edge rides over the layer: the angle is too shallow for the insert to engage, whatever the pressure.
- Edge engages but the surface is not breaking: down pressure is below what the depth of the layer needs.
- Surface breaks at the start of a section and re-forms later: speed has risen, or float has taken the pressure away.
- Edge wears in a band and the surface looks unchanged: the blade is sliding at that point, which is a pressure and angle problem rather than a material one.
Each of those has a setting response rather than a parts response, which is the point of working through them before ordering anything. Where the settings are already at the limit of what the carrier allows and the surface still does not break, the limitation is the machine rather than the edge, and the arrangement that produces more contact pressure from the same load is described on the packed ice kit page. Matching a cutter to a particular route is covered on the snow cutter selection page.
SENTHAI manufactures packed ice carbide kits, inserts and cutting edges in Rayong, Thailand, with the insert arrangement and edge geometry confirmed against the carrier and the surface the route produces. Standards that constrain what a blade assembly may be fitted to are maintained by SAE International, test methods for the materials involved are published by ASTM International, road weather practice by the Federal Highway Administration and its maintenance guidance, and winter operations practice by the Snow and Ice Management Association. Settings that need to be confirmed against a specific machine can be discussed through the contact page.

FAQ
How much down pressure should be used on packed ice?
Enough to keep the cutting edge engaged and no more. The setting that works is the lowest one at which the surface breaks up on the first pass at the speed the route allows, because additional pressure beyond that point goes into the machine and the pavement rather than into cutting.
Does blade angle matter as much as down pressure?
It matters in the opposite direction. Down pressure pushes the edge into the surface while blade angle decides how the edge meets it, and a very shallow angle lets the insert scrape along the top of the layer however much pressure is applied. The two settings have to be adjusted together.
Why does the blade stop cutting when the operator speeds up?
Because contact time at each insert falls as speed rises. There is a range in which the edge cuts, and above it the same edge rides the surface and polishes it instead. The transition is not marked on any gauge, which is why operators are usually taught to recognise it from the windrow and the sound of the blade.
Send the carrier, the blade position and the sections of the route that stay bonded. The SENTHAI engineering desk will confirm the edge geometry and the setting range that suits the machine.
This article is one step in the Packed Ice Edge Guide, which explains why a standard edge skates across hardpack and how to set one up so it bites.