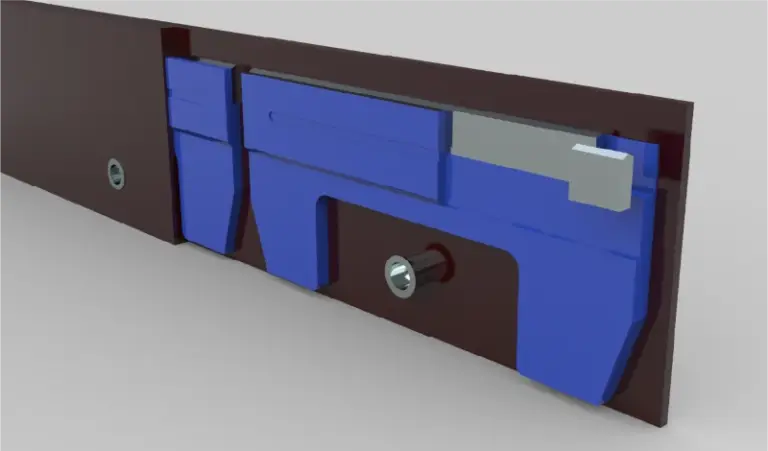
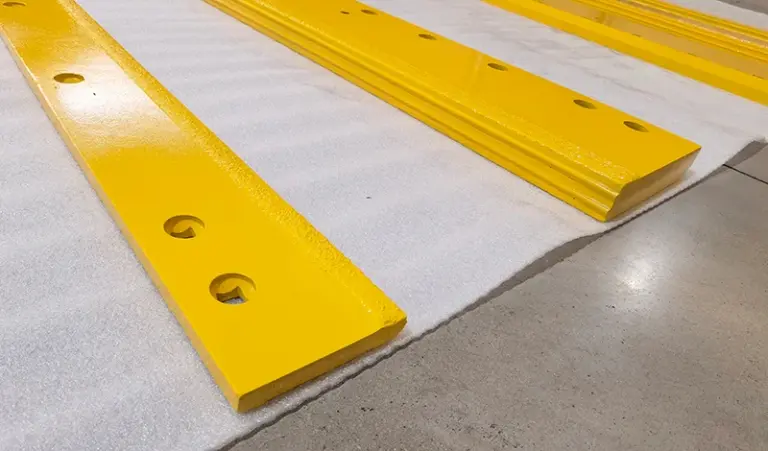
Meyer-style plows do not use one universal hole pattern or one universal thickness. The mounting geometry is set by the plow frame and the wear-bar shoe, and the blade thickness is set by the truck class and the surface being cleared. A distributor should confirm the hole spacing, bolt diameter, and edge thickness against the plow’s own parts drawing before quoting, because “Meyer-style” describes a family of compatible designs, not a single fixed specification.
What “Meyer-style” actually fixes
The term is a compatibility shorthand, not a standard. It tells you the edge will mount to a plow built around the Meyer-style wear bar and bolt layout, but the actual dimensions still come from the plow model and the frame it sits on.
In practice, a Meyer-style edge is defined by three things: the hole pattern along the top edge, the bolt hole diameter, and the overall length and height of the blade. Two edges can both be “Meyer-style” and still differ in hole spacing by a few millimetres, which is enough to stop a bolt going through. That is why the drawing, not the label, is the controlling document.
Hole pattern: what varies and why
Hole pattern is driven by the plow frame’s bolt holes and the wear-bar shoe that clamps the edge. The pattern is usually a repeated set of holes along the top edge, and the repeat distance is the dimension that matters most for fit.
- Hole spacing (pitch): the centre-to-centre distance between bolt holes. This is the single most common cause of a return, because a pitch that is off by even a small amount will not line up with the frame.
- Bolt diameter: the hole is sized for the bolt shank plus clearance. Undersized holes bind; oversized holes let the edge shift under load and wear the frame holes.
- Edge distance: the distance from the hole centre to the top edge of the blade. Too little edge distance and the blade cracks out at the hole; too much and the bolt head sits proud.
- Countersinking or plain holes: some frames use countersunk bolts for a flush face; others use plain holes with a washer. These are not interchangeable.
Because these dimensions are set by the frame, the practical rule is to measure the plow, not to trust a catalogue description. A drawing or a physical sample is the reliable reference.
Thickness: the trade-off you are actually buying
Thickness is where the buyer makes a real engineering choice. A thicker edge lasts longer against abrasive surfaces but adds weight, cost, and bolt load; a thinner edge is lighter and cheaper but wears through sooner.
| Thickness band | Typical use | Trade-off |
|---|---|---|
| Thin | Light trucks, paved lots, low-abrasion work | Lower weight and cost; shorter service interval |
| Mid | General municipal and contractor fleets | Balance of life and handling weight |
| Heavy | Gravel, unpaved roads, high-abrasion duty | Longer life; more weight and higher bolt load |
The exact bands depend on the plow class and the material specification, so treat the table as a starting point for a conversation with the frame drawing, not a fixed rule. Edge life depends on surface abrasion, down-pressure, and operator technique as much as on thickness, so no single figure can be quoted without those inputs.
Matching edge to frame and bolt hardware
The edge is only one part of a bolted joint, and the joint fails before the steel does if the hardware is wrong. Before ordering, confirm the bolt grade, the washer type, and the torque the frame manufacturer specifies.
- Confirm the plow model and frame part number, not just the brand.
- Measure hole pitch, hole diameter, and edge distance on the existing edge or frame.
- Confirm blade length, height, and thickness against the drawing.
- Check bolt grade and whether countersunk or plain holes are required.
- Confirm the wear-bar shoe and any spacer plates are included or reused.
- Record the torque specification from the frame manufacturer.
If the existing edge is worn past recognition, a frame drawing or a photo with a ruler across the hole pattern is usually enough to confirm the match. This is the same logic that applies when one end of the edge wears faster, where the fix is often alignment and hardware rather than a different blade.
What this means commercially
For a distributor or fleet buyer, hole pattern and thickness are specification risk before they are a price question. A pattern that does not fit creates returns, downtime, and re-work, and those costs usually exceed any saving on the blade itself.
Supply terms depend on the specification: a standard pattern in a common thickness is typically a stock or short lead-time item, while a non-standard hole pattern or a heavy thickness may require a minimum order quantity and a longer lead time. Total cost of ownership depends on abrasion, down-pressure, and how often the edge is changed, so a cheaper thin edge can cost more per hour of service in high-abrasion work. The practical approach is to fix the drawing first, then compare quotes against that fixed specification. Price and lead time come from a written quote; specifications come from the product page.
Specification risk and how to reduce it
Most fit problems trace back to a specification that was assumed rather than confirmed. Reducing that risk is mostly a documentation exercise, and it is cheaper than a return.
- Keep a drawing or measured sample for every plow model in the fleet.
- Record hole pitch, diameter, edge distance, and thickness in the procurement file.
- Confirm bolt grade and torque with the frame manufacturer.
- Order against the drawing, not the brand name.
For buyers comparing suppliers, the useful question is not “is it Meyer-style” but “does it match this drawing.” That framing keeps the conversation on fit and life rather than on labels. The same discipline applies to diagnosing uneven wear before ordering a replacement.
Quick summary
Meyer-style plows use a family of compatible hole patterns and thicknesses rather than one fixed specification, so the frame drawing controls fit. Confirm hole pitch, bolt diameter, edge distance, and thickness before ordering, and treat thickness as a trade-off between life, weight, and cost. Price and lead time come from a written quote; specifications come from the product page.
Sources checked on 2026-11-14: SENTHAI Tools product specification pages and general plow-frame bolting practice; no independent wear study was used.
Three more perspectives
Limits
This page does not provide a dimensional drawing, a torque table, or a wear-life figure for any specific plow, and it does not replace the frame manufacturer’s specification. It is a guide to what to confirm before ordering, not a substitute for the product page or a written quote.