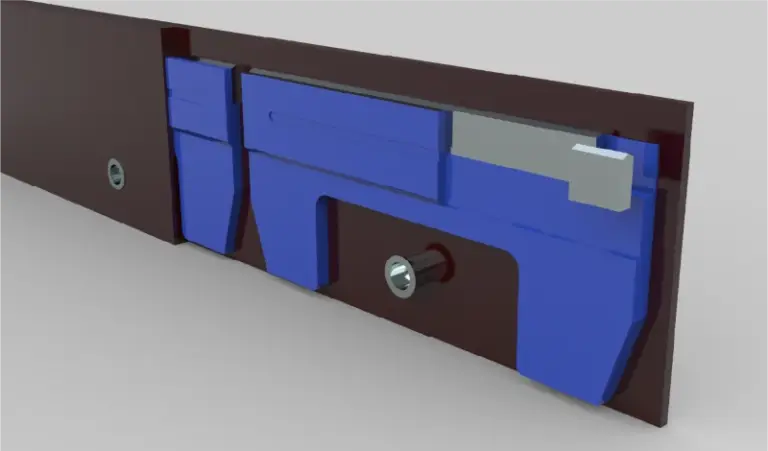
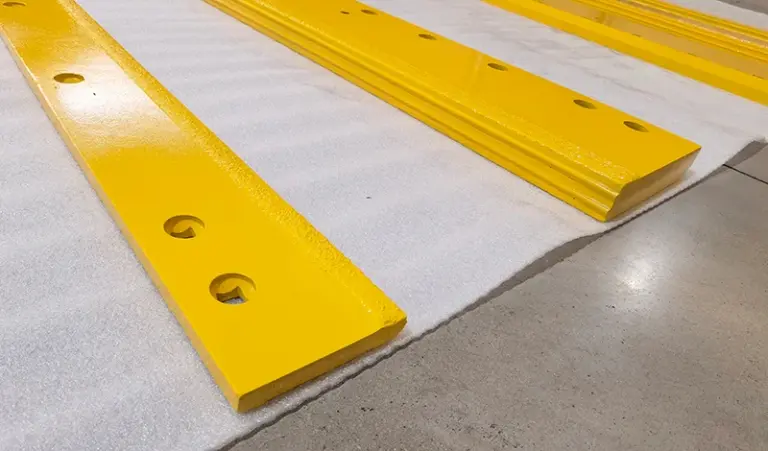
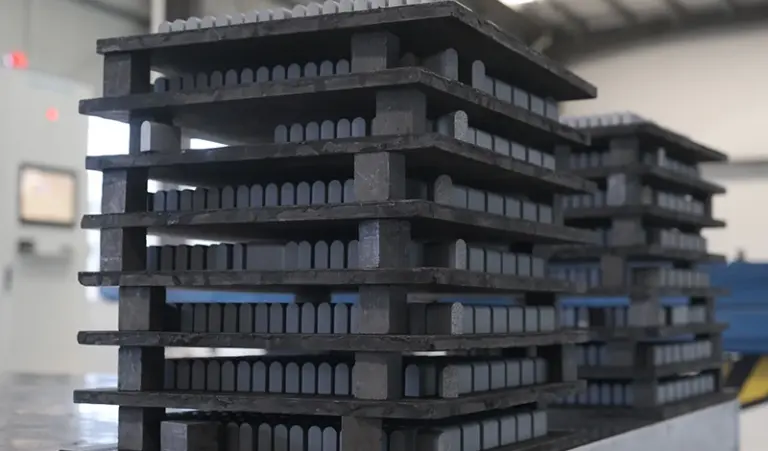
Changing a yard loader cutting edge is a three-tool job in most cases — a socket or impact wrench for the plow bolts, a pry bar or dead-blow to break the edge free, and a grinder or burr tool for cleanup — and the realistic stop point is the bolt condition, not the edge itself. If the bolts come out clean, a single-edge swap on a smaller yard loader runs roughly 30–60 minutes for two people. If they don’t, the job becomes a torch-and-drill exercise and the schedule moves to the next day.
What the job actually involves
A yard loader edge change is a bolted-joint service, not a fabrication job. The variables that decide how long it takes are access, bolt condition, and whether the moldboard seat is straight. The edge material itself is usually the least interesting part of the day.
- Raise and block the blade — never work under a raised plow on hydraulics alone.
- Wire-brush the bolt heads and exposed thread; penetrating oil on the nuts the day before helps on older units.
- Remove plow bolts from the center outward. Leaving the outer bolts in until last keeps the edge from springing.
- Break the edge off the moldboard with a pry bar or dead-blow; do not drive a wedge into the seat face.
- Clean the seat, check for rolled or dished moldboard lips, dress burrs.
- Fit the new edge, start bolts finger-tight from center outward, then torque in the same pattern.
- Re-check torque after the first few hours of service.
Tool list by task
Most fleet workshops already own everything on this list. The items that cause delays are the ones people forget: a spare bolt kit, a thread chaser, and a way to deal with a seized bolt that will not yield to a wrench.
| Task | Tool | Notes |
|---|---|---|
| Lifting / blocking | Jack, stands, or loader lift with hard blocking | Never rely on hydraulics alone |
| Bolt removal | Impact wrench or socket set, correct size for plow bolts | Plow bolt heads are square or countersunk; use the matching socket, not an adjustable |
| Seized bolts | Penetrating oil, heat, drill and extractor set | This is the main schedule risk |
| Edge removal | Pry bar, dead-blow hammer | Do not wedge the seat face |
| Seat prep | Wire brush, grinder, file | Dress burrs, check for dishing |
| Installation | Torque wrench, thread chaser, anti-seize where specified | Follow the OEM torque figure and pattern |
| Consumables | Spare plow bolts, nuts, washers | Assume 10–20% will not be reusable |
Time expectations and where they break down
Time depends on machine size, bolt count, corrosion history, and whether the plow is in a heated bay or a yard in February. Treat any figure here as a planning range, not a standard.
- Clean, indoor, bolts free: roughly 30–60 minutes for a two-person crew on a smaller yard loader edge.
- Typical field condition: 1–2 hours, including seat cleanup and a bolt or two that needs persuasion.
- Seized or corroded bolts: half a day or more; drilling and extraction dominates the clock.
- Warped or dished moldboard seat: add time for assessment; a new edge will not seat flat on a bad face.
None of these are measured figures from a controlled study — they are planning ranges drawn from typical shop practice. Your own historical work orders are the only reliable benchmark.
Stop points: when to stop and escalate
A stop point is the condition where continuing the job in-house creates more risk than value. Decide these before the wrench comes out, not in the middle of the job.
- More than a small share of bolts seized or snapped. If extraction is consuming the shift, stop and move to a planned repair slot rather than improvising under time pressure.
- Moldboard seat is dished, cracked, or rolled. A new edge bolted to a bad seat will wear unevenly and loosen. Escalate to fabrication or moldboard repair.
- Hole pattern does not match. Stop before drilling. Verify the edge against the machine drawing — check the drawing and hole layout on the product page before ordering, and again before installation.
- Bolt grade or length is wrong. Do not substitute hardware. Plow bolts are specified for the joint; a hardware-store substitute is a rework risk.
- Machine is needed on route within the hour. Swap the whole blade assembly if you have one, and do the edge change on the bench later.
Edge specification and wear: what to expect
Cutting edge life depends on surface, down-pressure, operator technique, and the material and hardness of the edge. There is no single service life figure that applies across a fleet.
- Material and hardness: carbon steel edges are the baseline; through-hardened or boron grades trade wear life against cost and, in some cases, brittleness. Match the grade to the surface — abrasive gravel and paved lots behave differently.
- Thickness and width: thicker sections last longer but add weight and cost; a wider edge can be reversed or rotated on some patterns to extend life.
- Wear pattern: uneven wear usually points to seat condition, down-pressure, or operator habit rather than the edge itself. Inspect the seat before blaming the part.
- Reversible and segmented designs: segmented edges reduce handling weight and let you replace worn sections only; the trade-off is more bolts and more inspection points.
For reference on how cutting edge specifications are typically presented, see the product page and the range of snow plow cutting edges listed there.
Commercial considerations for buyers
For a distributor, importer, or fleet procurement team, the edge change is only half the cost story. The other half is supply continuity and specification risk.
- MOQ and order structure: cutting edges are often ordered in mixed pallets by length and hole pattern. Confirm MOQ per SKU, not per order, because slow-moving lengths can strand inventory.
- Lead time: standard patterns are typically stocked or short lead; non-standard hole layouts and hardened grades depend on mill and heat-treat scheduling. Build a buffer into seasonal planning.
- Total cost: price per edge is a poor comparison on its own. Weigh wear life, bolt kit inclusion, freight weight, and rework risk from a mismatched hole pattern.
- Specification risk: the most common costly error is ordering by length alone. Hole diameter, spacing, countersink, and edge angle all matter. Require a drawing check before PO release.
- Bolt supply: plow bolts are a separate line item and a common stockout. Bundling hardware with edges reduces downtime but raises inventory carry.
Public fleet tenders often specify edge dimensions and bolt patterns in detail; reading bid tabulations is a useful way to see how competitors position on specification and price — see this guide to reading public bid tabulations for cutting edges.
Quick summary
A yard loader edge change is a bolted-joint job that runs roughly 30–60 minutes when bolts are free and 1–2 hours in typical field conditions, with seized hardware as the main schedule risk. Decide stop points in advance — seized bolts, a dished seat, or a mismatched hole pattern are reasons to pause, not improvise. Buyers should treat hole pattern, bolt kit, and lead time as specification items, not afterthoughts.
Sources checked on 2026-11-17: SENTHAI Tools product and technical pages (snow plow cutting edges); general shop practice for plow bolt service and torque patterns; public fleet bid documentation conventions. Time and life figures are planning ranges, not measured study results.
Three more perspectives
Workshop: The bench view is that bolt condition decides the day. Keep a thread chaser, an extractor set, and a spare bolt kit at the bay, and inspect the moldboard seat before the new edge goes on — a five-minute check saves a repeat job.
Purchasing: Order by drawing, not by description. Confirm MOQ per length, ask whether hardware is included, and check lead time on non-standard hole patterns before the season, not during it.
Field: Operators see wear first. Uneven wear on one side usually means seat condition or down-pressure, not a bad edge — report it before the next change so the shop can plan the repair.
Limits
This page is a planning guide for experienced B2B buyers and maintenance teams; it is not a torque specification, a safety procedure, or an OEM service manual. It does not cover hydraulic system work, moldboard fabrication, or machine-specific lifting procedures. Always follow the machine manufacturer’s torque values and your own site safety rules, and verify every edge against the drawing before ordering or installing.