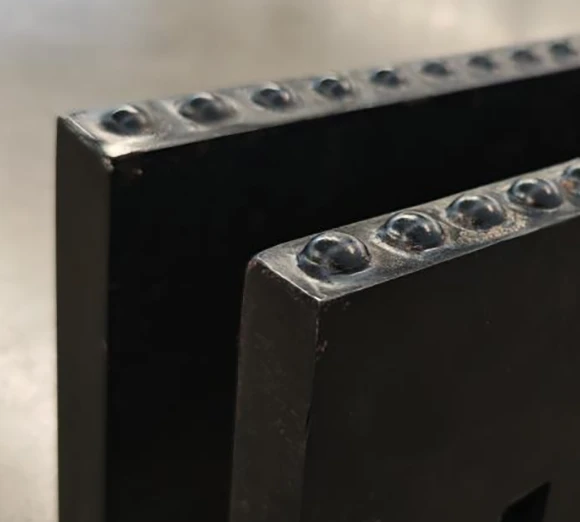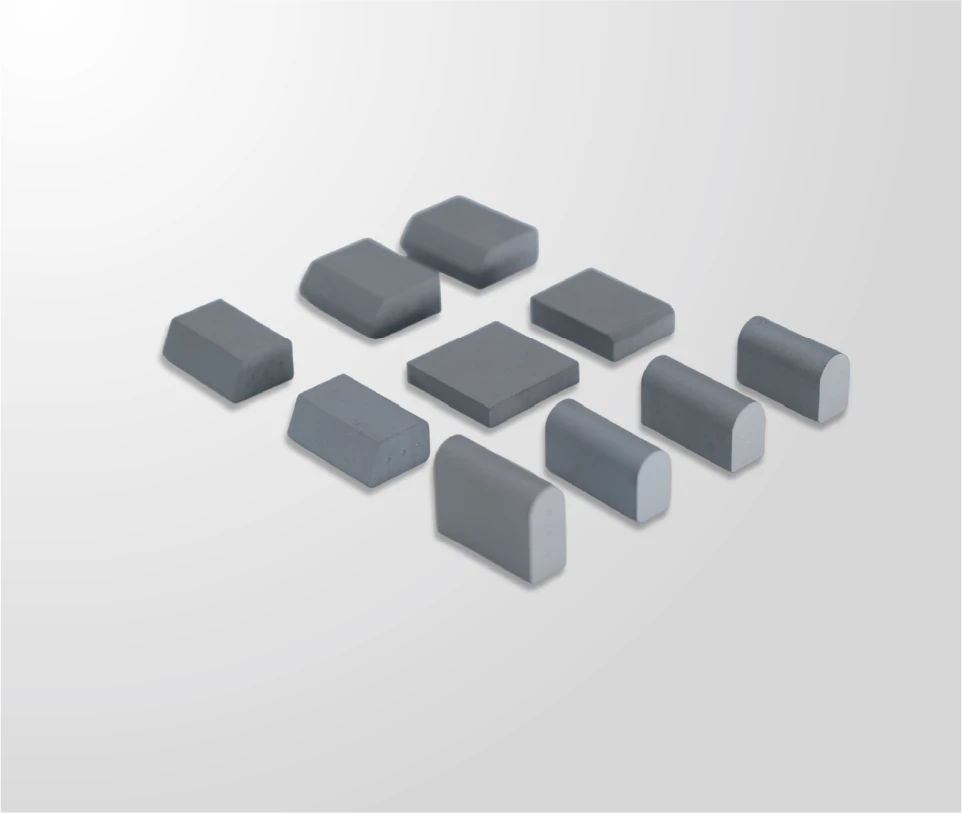
First make the equipment safe and have the damage assessed before further use. Preserve the affected parts, photograph the complete edge and the damaged areas, and record the batch, installation and operating conditions. Early chipping deserves investigation; the timing alone does not identify the cause.
Make the equipment safe and preserve the damage
The sequence matters because continued operation or an attempted repair can change the evidence. A safe withdrawal from service is an operating decision; attributing the damage is a separate investigation. Keep both decisions in the record. Where a technician finds a condition that makes the assembly unsafe, follow the applicable repair or replacement procedure rather than continuing solely to collect more trial data.
Follow the equipment manufacturer’s shutdown, isolation and support procedures before approaching the blade. Record an overall view that shows where each damaged area sits, then take clear close-ups with a scale. Include the carrier, adjacent inserts, mounting hardware and any visible contact marks.
Keep detached pieces when they can be recovered safely. Label them by location and retain the blade and packaging references. Avoid grinding, rebrazing or otherwise altering a fracture or joint before the supplier has said what evidence is needed. If removal is necessary for safe repair, document the condition first and record the work performed.
Record installation and operating history
Record the installation date, first-use date, working time or plowing distance available, and when the damage was discovered. Note the route surface, weather, known obstacles, reported strikes, chatter and any change in operating behaviour. Separate operator observations from later interpretations.
Capture the machine and attachment identification, blade orientation and the setup information actually recorded. Include available pre-use inspection photos and installation records. Do not recreate a missing pressure, speed or torque record from memory and present it as a measurement.
State whether carbide has chipped in place, a complete insert is missing, or the carrier is also damaged. These observations help frame the investigation, but a photograph alone may not distinguish impact, mounting, material and joining contributions. Compare affected positions with neighbouring areas and identify any other parts from the same batch.
Submit one traceable evidence pack
SENTHAI’s quality-control page asks for batch identification, photos and operating conditions when a failure is reported. Submit those together with the order and drawing references. Ask what additional examination is needed before agreeing a cause or changing the specification.
Send one evidence pack:
- Order, part, batch and drawing-revision references.
- Before-use photos if available, plus an overall damage map and scaled close-ups.
- Installation and inspection records, with unavailable information identified.
- Route, surface, exposure and incident details, distinguishing observations from assumptions.
- A list of retained parts and any work done after discovery.
- The number inspected, number affected and current status of the other units.
Build a short timeline that another person could follow without speaking to the original operator. Include what was known before installation, what changed during the shift and what was found afterward. If damage was discovered during an inspection rather than immediately after a strike, record that distinction. Missing observations are useful limitations to acknowledge, not gaps that need a plausible story. A well-labelled evidence pack makes the questions clearer even when it cannot settle the cause.
Chipping is evidence of damage, not automatic proof of a manufacturing defect or misuse. A laboratory examination or review of retained production records may be needed. Warranty eligibility depends on the agreed terms and investigation; this checklist does not promise a particular outcome.
Sources and further reading. Use the applicable equipment manual and approved specification for operating and installation requirements. Model-specific examples do not establish compatibility with another machine.
SENTHAI quality control ↗Warranty, shipping and ordering terms ↗Carbide insert selection and replacement guide ↗Carbide inserts ↗Henke parallel-lift plow manual: pre-operation inspection ↗