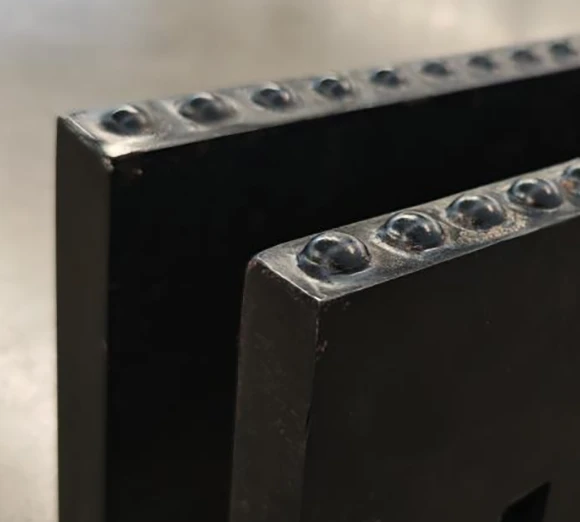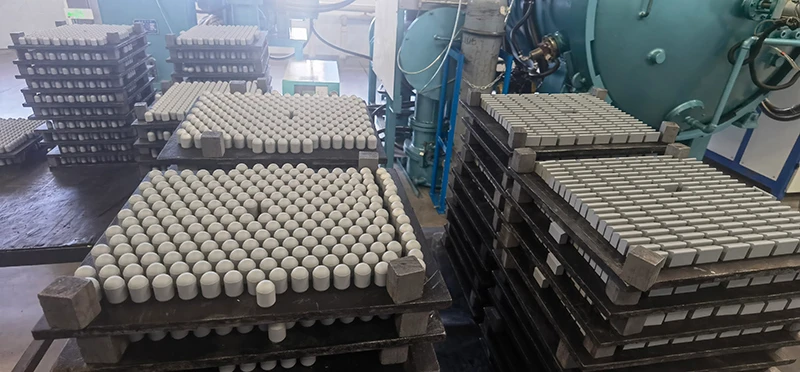
Photograph the alignment at whole-blade scale, then preserve detailed views of each insert, the adjoining steel and visible joint surfaces. Add installation and incident history. A straight-looking crack pattern is an observation to investigate; it is not enough to distinguish a manufacturing, installation or service contribution.
Capture the whole blade and crack alignment with location labels
Start with a view that includes the complete blade and a clear orientation reference. Mark the affected positions on a separate sketch or a copy of the image, retaining the original photograph unchanged. Number each cracked insert and show any uncracked positions between them. This prevents a set of close-ups from implying that damage is continuous when it is actually interrupted.
Take an additional view that shows the apparent line relative to mounting features and the blade's working edge. Perspective can make separate features appear aligned, so identify the viewing direction and any area hidden by the assembly. Do not place tools against damaged material or move the blade into an unsafe position simply to improve the camera angle.
The general failure-mode discussion covers patterns across a blade. The task here is to give an investigator enough spatial context to decide whether the apparent alignment is meaningful and what should be examined next.
Preserve close views of insert, steel and joint surfaces
Record each affected insert from an accessible frontal and oblique view, with a scale placed beside rather than across the feature. Include the nearby steel and visible joint boundary. Keep photographs of apparently unaffected neighbours at the same scale so that differences in light and framing do not become apparent differences in condition.
Preserve original files. Cropped or contrast-adjusted copies can be useful for annotation, but identify them as copies and retain the originals. A dark line in an image may need hands-on examination before it can be called a crack; use the inspector's terminology where an examination has occurred.
Do not open a crack, apply heat or remove an insert to reveal a better surface without the investigator's instructions and qualified personnel. CERATIZIT's joining guidance explains why joining deserves technical review, but a pattern photograph cannot establish the temperature history or stress state of this particular blade.
Send installation and incident history without declaring a thermal or impact cause
Attach the installed part and drawing references, lot identification, installation date and available inspection history. Record when the damage was discovered and whether a specific incident was reported. If the operator remembers an impact but no exact time or object, preserve the recollection at that level of certainty. Do not use the crack line to fill in a missing event.
List any work done between the last documented inspection and discovery, including removal, storage or authorized maintenance. Keep that chronology separate from proposed causes. The reviewer may need manufacturing records or controlled examination of retained material, particularly if the same pattern appears on other confirmed members of a lot.
If asking about replacement wear components, explain whether the existing assembly is being retained for examination. Agree who will assess serviceability and who will authorize destructive investigation. A useful report ends with the observations, unresolved questions and next examination, rather than a confident label based solely on the visual symmetry of the cracks.
Sources and further reading. The ordered specification and applicable equipment documentation control acceptance and service decisions.
CERATIZIT Joining Techniques ↗Clear Roads 17-02: Standard Specifications for Plow Blades with Carbide Inserts (historical research; not a universal specification) ↗